A final word on rooms or "levels"
From the Room properties window several features can be modified for game play including:
- Various background and foreground images
- Settings for room caption, dimension and game speed
- Views and ports for scrolling around a larger world outside of the game window
Finishing your game
You can make a "stand-alone" version of your Gamemaker title that will play without Gamemaker. These independent game programs (executables or ".exe") include all the capabilities needed to play your game (in one single file). When you create the executable program, you can double click on the file and it runs.
The process for making a stand-alone Gamemaker game is:
- Finish and test your Gamemaker game
- Save the file to disk
- Choose File>Create Executable...
- The resulting file will be called <your game>.exe. It has an .exe suffix that indicates that you can double click it to start it.
Game information:
For any good game, there should be instructions and/or a help file on how to play the game. In Gamemaker you can create an info page from the icon in the main explorer list. The info page has it's own editor and can be accessed by the player with <F1>. Other custom commands like <Esc> ends the game; or <F4> switch graphics mode; can also be listed for the player.
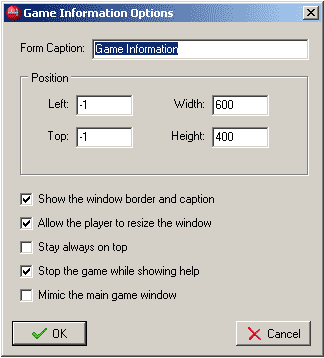
Under the File menu of the info editor, Options can be selected for the info caption, position and style of the window.
Global Game Settings
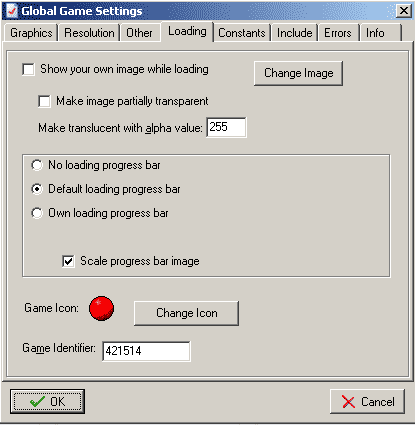
From another icon in the main explorer list, you can also get to the Global Game Settings. This is where the game presentation can be totally customized to fit the style of your game.

Graphic Options give access to the way your game will be displayed including full-screen or window, scale, window properties and other options.
Other Options allow for default or custom hot keys for such functions as escaping or help file.
Loading Options is where you can include a custom opening screen and a custom Windows icon for your game program file.
DUE
WEEK 08
Midterm Project and Presentations
- At least 2 scenes, with interactivity in each scene
- Each scene should have:
- 2 characters or sprite animations that happen in response to mouse or cursor control
- sound effects
- Navigation to the next/previous scenes with character movement or mouse buttons
Grades at the "A" level will require more than these minimums
Additional possibilities include:
- scoring, health and/or life system
- background musical track
- scrolling view following player through larger environment
Storyboard
Develop a simple storyboard that shows how each scene will work and look. The storyboard should consist of several drawings of the different screens, accompanied by short descriptions of the scene and the interactivity. The drawings should be simple sketches, and their artistic quality is not important. This must be turned in as a hard copy print out.
Deliver the assignment, with all the files in a folder called et13proj1_lastname on a CD-rom. In class, we'll transfer the folder to the projector.